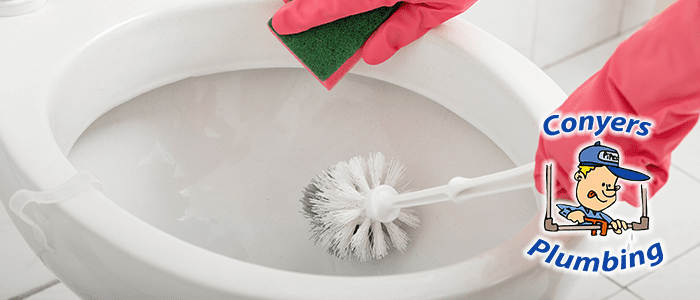
Let’s Get to Work: How to Install a New Toilet Fixture with Conyers Plumbing
Installing a new toilet fixture is a necessary part of remodeling or updating your bathroom. Whatever your reason is for installing a new commode, you can trust Conyers Plumbing, a local plumbing company located in Hillsborough County, FL, to do an excellent job. In this blog post, we will provide you with step-by-step instructions on how to install a new toilet. From preparing the area to properly installing the new toilet, we’ve got you covered. Let’s get started!
Section 2: Gather the Necessary Tools and Materials
Before you begin installing your new toilet, you need to gather all the necessary tools and materials. Luckily, the process is straightforward, and you should have most of the tools on hand in a standard toolbox. Here’s a list of what you’ll need:
- New toilet
- Wrench or pliers
- Wax ring
- Screwdriver
- Level
- Towels
- Gloves
- Caulk gun
- Silicone caulk
Section 3: Remove the Old Toilet Fixture
Before you can install, you must first remove the old one. Start by shutting off the water supply and flushing the toilet. Next, use a wrench or pliers to disconnect the water supply from the toilet tank. Then, remove the nuts that secure the toilet to the floor using a wrench. Rock the toilet gently from side to side to break the wax seal and lift the toilet straight up.
Section 4: Prepare the Area
Once you’ve removed the old toilet, you need to prepare the area for the new one. Clean up any remaining wax from the flange on the floor and use a putty knife to remove any old caulk. Check that the flange is level and add shims as necessary. Spread a bead of caulk around the edge of the flange to seal it.
Section 5: Install the Wax Ring
Place the wax ring over the flange with the plastic horn facing down. Make sure that it’s centered and evenly in place. The wax ring will help keep your toilet from leaking water onto your floor, so it’s essential to install it correctly.
Section 6: Install the New Toilet
Now it’s time to install your new toilet. Carefully lower the toilet bowl onto the wax ring and press down firmly. Once the bowl is in place, tighten the nuts on the floor bolts. Use a level to check that the toilet is upright and level.
Section 7: Install the Tank
Attach the tank to the bowl by aligning the gasket between the tank and the bowl. Tighten the bolts on the underside of the tank. Next, attach the water supply line to the bottom of the tank and turn on the water supply.
Section 8: Test the New Toilet Fixture
With the new toilet installed, and water flowing to the tank, turn the water supply back on and let the tank fill up. Flush the toilet several times to ensure that the water is flowing correctly, and that there are no leaks. If everything is working correctly, then the installation is complete.
Section 9: Conclusion
You’ve done it! You’ve installed your new toilet. Now that your bathroom’s most essential fixture is working correctly, you can enjoy a more functional space. If you’re in Hillsborough County, FL, or surrounding areas, and you’re not comfortable installing a toilet, or if you encounter any issues, Conyers Plumbing is here to help. We offer professional and experienced plumbing services, and we’re committed to providing top-notch service. Don’t hesitate to contact us if you need assistance.