Drip, Drip, Drip: Your Guide to Fixing a Leaking Faucet with Conyers Plumbing!
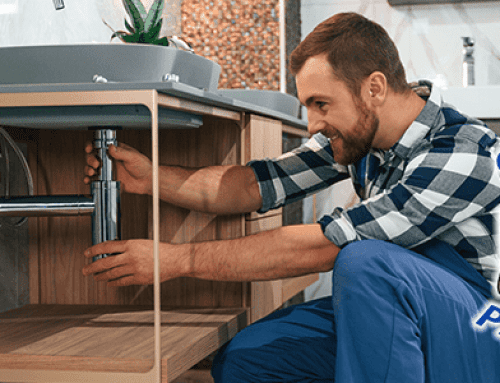
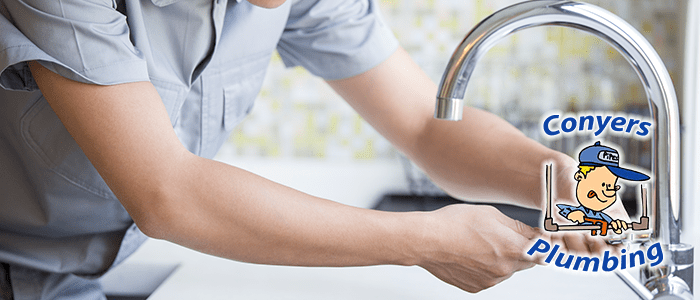
Does the constant dripping of a leaking faucet keep you up at night? Not only is it annoying, but it can also waste gallons of water and lead to increased utility bills. If you’re experiencing this problem, do not fret! Conyers Plumbing, a local plumbing company in Hillsborough County, FL, is here to help you fix your faucet and put your worries to rest.
Section 1: Understanding the Different Types of Faucets
Before we dive into how to fix a leaking faucet, it’s essential to know the different types of faucets. There are four main types:
- Ball Faucets
- Disc Faucets
- Cartridge Faucets
- Compression Faucets
Each faucet has unique features and a different internal mechanism. Knowing this information will help you diagnose and fix your leaking faucet efficiently.
Section 2: The Tools You Will Need
To fix your leaking faucet, Here are the tools you’ll need:
- Adjustable wrench
- Screwdriver
- Allen wrenches
- Lubricant
- Replacement parts (depending on the type of faucet)
Section 3: Turn Off the Water Supply
Before starting any repair, be sure to turn off the water supply to prevent any further damage. The shut-off valve is typically located under the sink, but if you can’t find it, turn off the main water supply.
Section 4: Addressing Ball Faucet Leaks
A ball faucet has a ball inside that regulates the water flow. If your ball faucet leaks, it may be due to worn-out seals and springs or a damaged ball. Begin by removing the handle, collar, and faucet cam. Then, remove the ball and inspect it for any cracks or damage. Replace any damaged parts, lubricate everything with a silicone lubricant, and reassemble the faucet.
Section 5: Repairing Disc Faucets
A disc faucet has two ceramic discs that regulate the water flow. A leaking disc faucet may be due to a damaged disc or an accumulation of debris in the faucet mechanism. Remove the handle, the escutcheon cap, and the cylinder housing before accessing the discs. Inspect the discs for any chips or cracks, clean any debris, reassemble the faucet, and turn the water supply back on.
Section 6: Dealing with Cartridge Faucet Leaks
Cartridge faucets use rubber o-rings to control the water flow. A leaking cartridge faucet may be due to worn-out o-rings or a damaged cartridge. To fix this, begin by removing the handle, retaining clip, and cartridge. Inspect the cartridge for any damage and replace any worn-out o-rings. Lubricate the o-rings, reassemble the faucet, and turn on the water supply.
Section 7: Fixing Compression Faucet Leaks
Compression faucets control water flow through rubber washers. Over time, these washers can wear out or become damaged, leading to leaks. To fix this, remove the handle, packing nut, and stem before accessing the washer. Inspect the washer and replace it if damaged. Reassemble the faucet once everything is lubricated, and you’ve replaced any damaged parts.
Section 8: Seeking Help from a Professional for a Leaking Faucet
Sometimes, even with the right tools and knowledge, fixing a leaking faucet may be challenging. In such cases, do not fret! Conyers Plumbing is here to help. Our skilled plumbing professionals have years of experience fixing all kinds of faucets and can identify and fix any problem with ease.
Section 9: Conclusion for Leaking Faucet Repair
Fixing a leaking faucet may seem daunting. However, armed with the right tools and knowledge, it is a task you can handle. Remember, if you need any assistance, Conyers Plumbing is always happy to provide professional services at a pocket-friendly price.