The Ultimate Guide to Replacing a Toilet Flapper
The toilet flapper is an essential component of the toilet that helps in controlling the water flow from the tank to the bowl. However, over time, flappers can become worn out, damaged, or just plain old faulty, leading to leaks, wastage of water, and a whole lot of frustration. Luckily, replacing a toilet flapper is a simple and inexpensive fix that can save both time and money in the long run. In this guide, we’ll show you how to replace a toilet flapper step by step.
Section 1: Identifying a Faulty Flapper
Before you can begin replacing the flapper, you must know if it’s faulty. Some telltale signs include a toilet that keeps running after flushing, a phantom flush, or leaking noises from the tank. Checking the flapper’s seal is also a good way to tell if it’s worn out or not.
Section 2: Gathering the Required Tools
Before you begin replacing the flapper, ensure that you have all the necessary tools in hand. These tools include a new flapper, pliers, a wrench, a sponge, a bucket, and a flashlight.
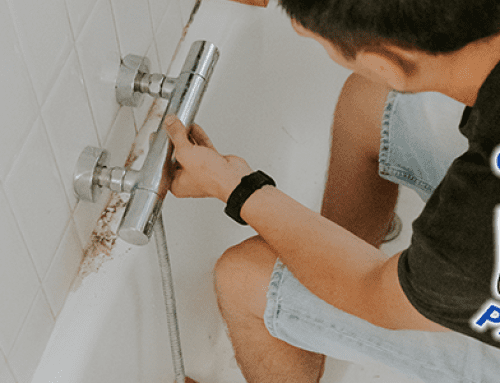
Section 3: Shutting off the Water Supply
Before you begin working on the flapper, make sure to turn off the water supply to the toilet. This can be done by shutting the valve that’s located behind the toilet.
Section 4: Removing the Old Flapper
After turning off the water supply, flush the toilet to drain all the water in the tank. After that, remove the old flapper by detaching it from the chain that connects it to the flush lever. You can use pliers to detach the flapper if it’s hard to remove.
Section 5: Choosing the Right Flapper
Choosing the right flapper is essential. Ensure that you buy a flapper that’s compatible with your toilet brand and model. The flapper should also be made of durable material to avoid wear and tear.
Section 6: Installing the New Flapper
After buying the right flapper, it’s time to install it. To do so, attach the new flapper to the chain that connects it to the flush lever. After that, place the flapper on the drain hole, ensuring that it fits snugly.
Section 7: Checking for Leaks
After installing the new flapper, turn on the water supply, then flush the toilet to check for leaks. If there are no leaks, your work is done! If there are leaks, ensure that the chain is the correct length and that the flapper is positioned firmly on the drain hole.
Section 8: Tips for Maintaining the Toilet Flapper
To keep the toilet flapper functioning optimally, you should ensure that it’s clean and free of debris. Make it a habit to clean and inspect the flapper every year.
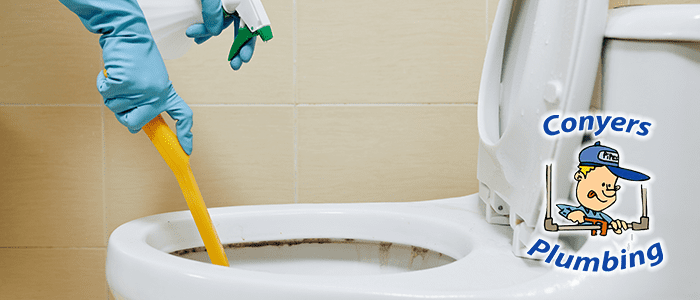
Section 9: Call for Professional Help with Toilet Flapper Repair
If after following these steps, you experience recurring toilet issues, it may be time to call in the professionals. At Conyers Plumbing, our team of experts will inspect your toilet and recommend the best course of action. Don’t hesitate to contact us for all your plumbing needs.